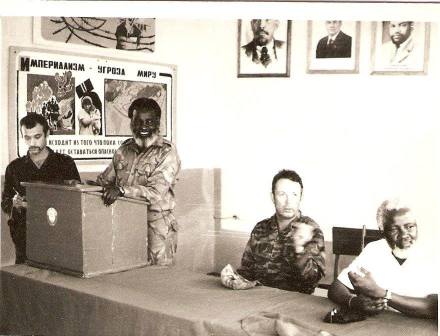
Some little known South African military history that we can all be very proud of, take the time to read how South Africans are still appreciated to this day in Italy for saving a small town’s civilian population from been totally massacred by the Nazi SS. This from 2008 issue of The Roman Forum magazine:
Marzabotto – An Italian town’s appreciation to South African troops for rescuing them from total annihilation after the massacre nearby townspeople by Nazi SS during World War 2.
Today, deep in the heart of Italy’s Apennine mountains between Bologna and the Po valley, in the communities of Castiglione dei Pepoli, Monte Stanco, Grizzana Morandi and the surrounding area local people gather annually not only to celebrate their towns’ emancipation from Nazi forces in the autumn of 1944 by the 6th Armoured Division from South Africa, but even to raise the South African flag in ceremony.
Their gratitude is so great, because this area was the site of the biggest, yet least-known, massacre of innocent civilians in Italy during WWII: the Marzabotto Massacre.
It was an exceptionally bleak atrocity for Italy, as it involved the extinction of an entire ‘race’- on 3 October 1944, German and Austrian SS troops were ordered to purge the entire area of Monte Sole and Monte Ruminci, because the townspeople of Marzabotto, Grizzana Morandi, and Monzuno were suspected of helping and supplying Italian partisans along the Gothic Line, which Hitler himself had ordered to be kept at all costs to sever south Italy and Allied forces from the industrialised and developed north.
Here Allied and German SS forces saw out the last winter of WWII, tired, cold, depleted, neither able to advance or retreat. Here is where the Allies eventually broke through the following Spring, spelling the end of the war in Italy. Before that, Nazi troops literally marched into every town and exterminated every living thing in sight. Women, children, young babies and the elderly alike were killed by gunfire and with grenades.
By sunset 3 October, Marzabotto’s and Monzuno’s unique population of mountain people, nearly two thousand people, were entirely exterminated.
The SS then started moving into Grizzana Morandi and Monte Stanco herding the townspeople into two groups in no particular order. The first group (half the population) were slaughtered that night, the remaining group was to be executed the next morning.
On 4 October 1944, the executions had already started, when out of nowhere a group of Allied soldiers who had been sent to patrol and scout the area, unaware of the purge, appeared and engaged the SS in combat. After a long battle they managed to drive the Nazis off well behind the Gothic Line, saving the few remaining people of Monte Sole. This group of soldiers was the 6th Armoured Division of South Africa.
The South Africans had been the first Allied troops to arrive in the area; British, American, New Zealand, Rhodesian, Australian, and Indian troops arrived some three days later from the nearby American base in Livergnago (dubbed ‘Liver & Onions’ by soldiers) with food and supplies for the towns’ afflicted victims and set up Allied camps along what is today one of Italy’s most famous war commemoration sites – the Gothic Line.
Hence, the people of Monte Sole celebrate South Africa every year, because the few survivors (some even today), owed their lives to the 6th Armoured Division.
A new street connecting Castiglionei dei Pepoli and the entire area with the Bologna-Modena highway was unveiled in November 2007 was named in honour of the South African 6th Armoured Division.
(May 2008 issue of The Roman Forum magazine)
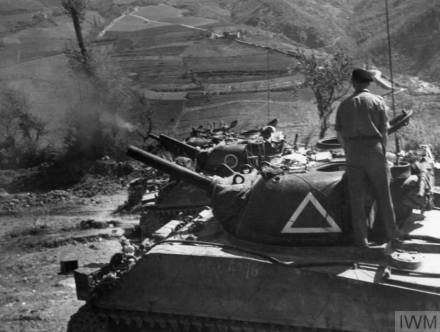
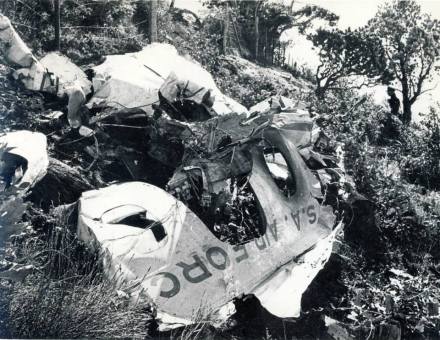
Tanks of the South African 6th Armoured Division firing on German positions at Monte Sole and Montebello at the start of the attack which ended in the breakthrough to Bologna. April 1945.
Aftermath
The Marzabotto massacre was a mass murder of at least 770 civilians by Nazi Germans. It is the worst massacre of civilians committed by the Waffen SS in Western Europe during the war. The massacre was in reprisal for the local support given to the Italian Partisans and Resistance by the townspeople between 29 September and 5 October 1944, SS-Surmbannfuher Walter Reder led members of the 16th SS Panzergrenadier Division Reichesfuhrer-SS to systematically kill hundreds of people in Marzabotto. They also killed numerous residents of the adjacent villages of Grizzana Morandi and Monzuno.

Walter Reder’s Trial
The Allies tried two Nazi Germans for the massacre, Max Simon and Walter Reder. Simon received the death sentence which was changed later to life in prison, he was released in 1954 and died in 1961. Reder was handed over to the Italians sentenced to life in prison, and released in 1985, he died in 1991
Remembrance
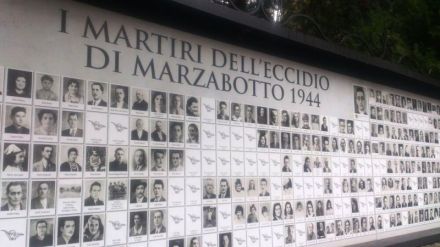
Claudio Chiste’, the Chairman of the South African Legion of Military Veterans – England branch visited the area to pay homage to this incident in October 2017 – here is the mausoleum and plaque dedicated to the 6th South African Armoured Division by a grateful local population for their rescue from systematic German massacre (note the triangular symbol which was the 6th South African Armoured Division’s insignia).
Researched by Peter Dickens. Primary extract May 2008 issue of The Roman Forum magazine), additional source – wikipedia. Photo copyright and much thanks to Claudio Chiste’ for his dedication. Additional image copyright, Imperial War Museum.


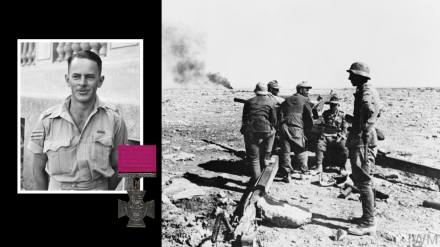
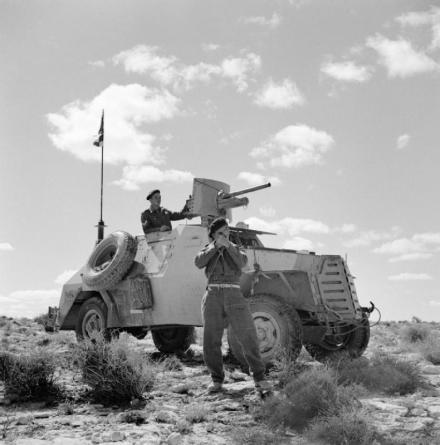
 Now this is a very notable South African, and a true hero – Sgt Quentin George Murray Smythe VC, who won the Victoria Cross in the Western Desert on 5 June 1942. The Victoria Cross (VC) is the highest military decoration awarded for valour “in the face of the enemy” to members of the British armed forces and various Commonwealth countries (of which South Africa is one).
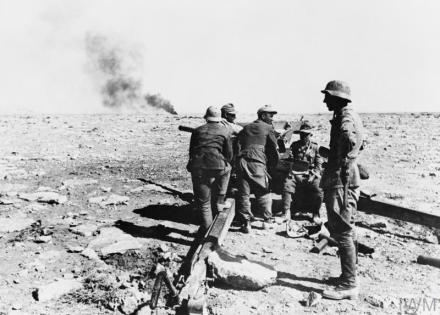
 No. 4458 Sergeant Quentin George Murray Smythe, South African Forces.